

Quick Guide - how to inventory

Detailed guide
Inventory overview
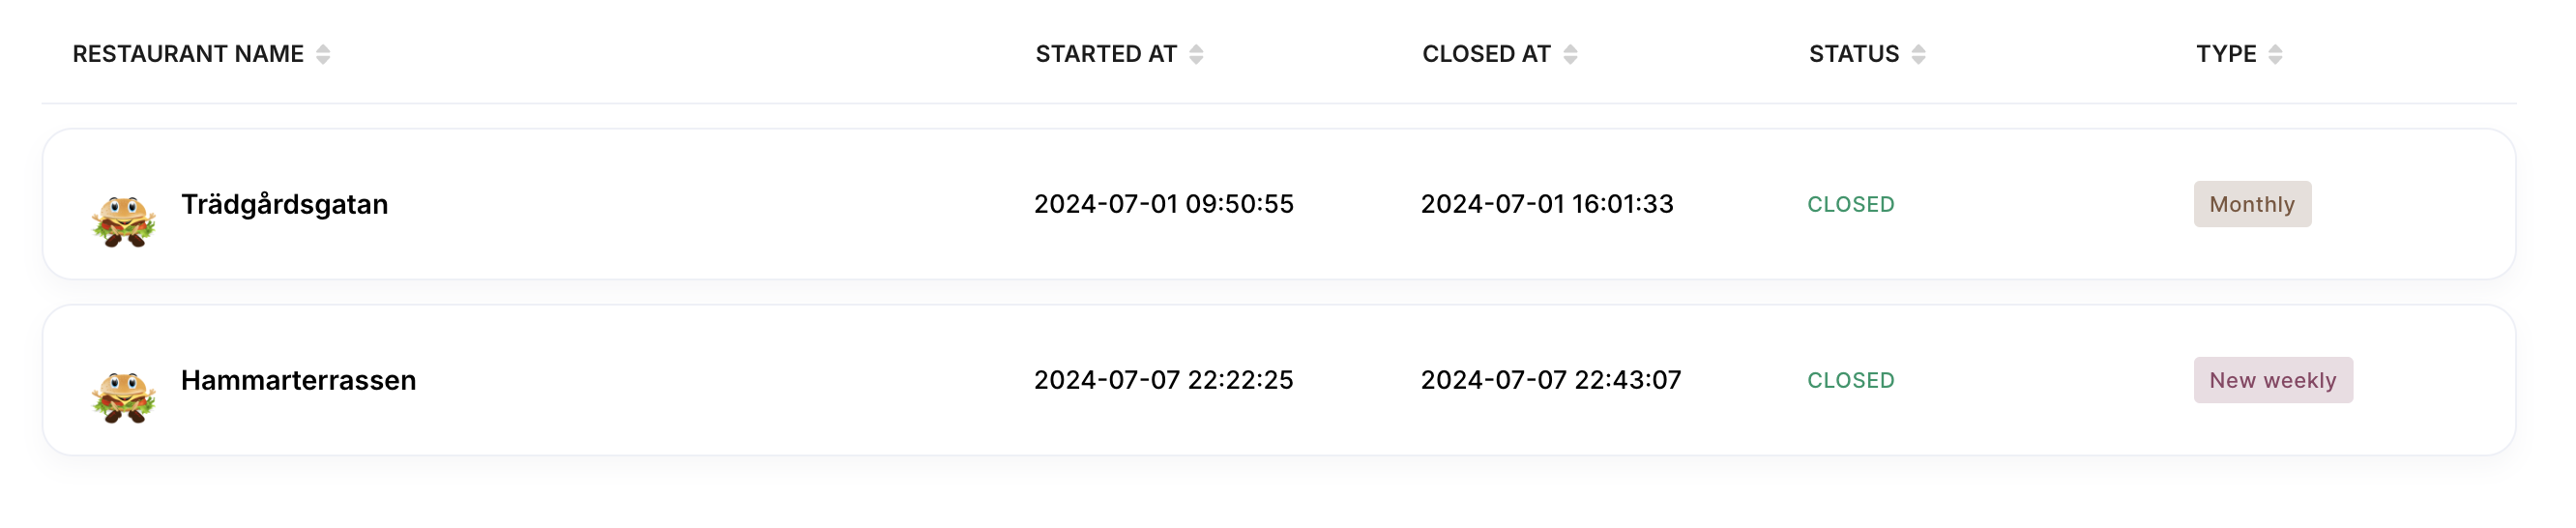
When you enter the inventory, you are displayed with all the restaurants connected to your account. If you only manage one restaurant, you are directed to your restaurants inventory.In the first overview, you are displayed with:
- The restaurants name.
- When they started the latest inventory stock take.
- When they closed the latest inventory stock take.
- What type of the latest inventory stock take.
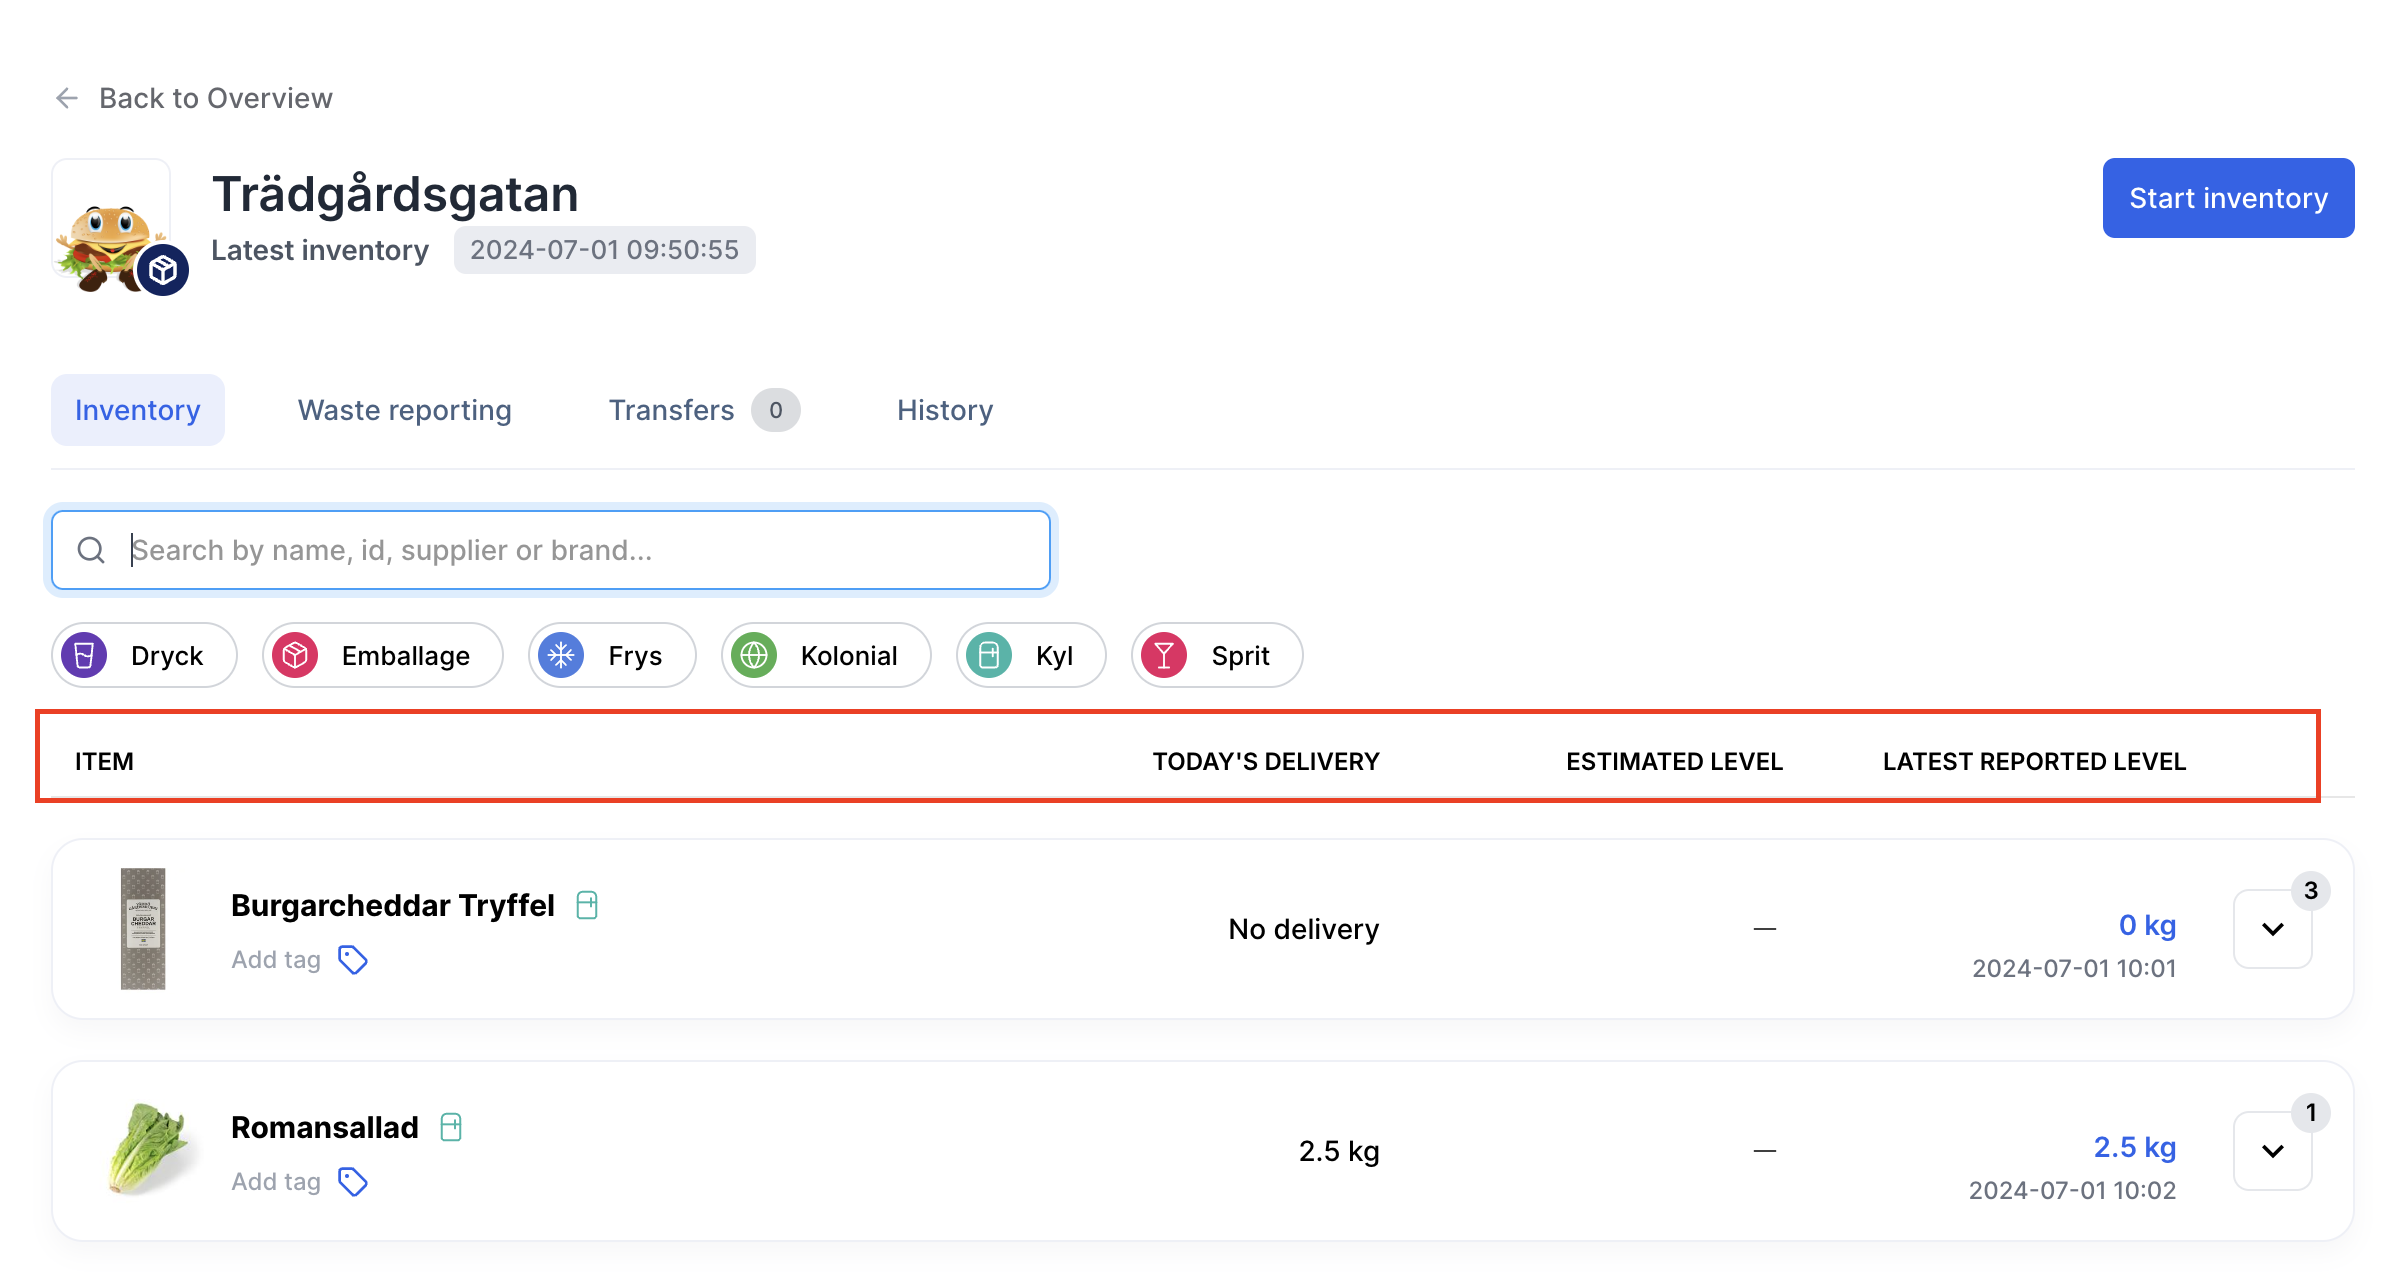
The table of items displays:
- Item name: the item name.
- Today’s delivery: if you are expected to get a delivery during the day.
- Estimated level: today’s estimated stock level.
- Last reported level: the last reported stock level.
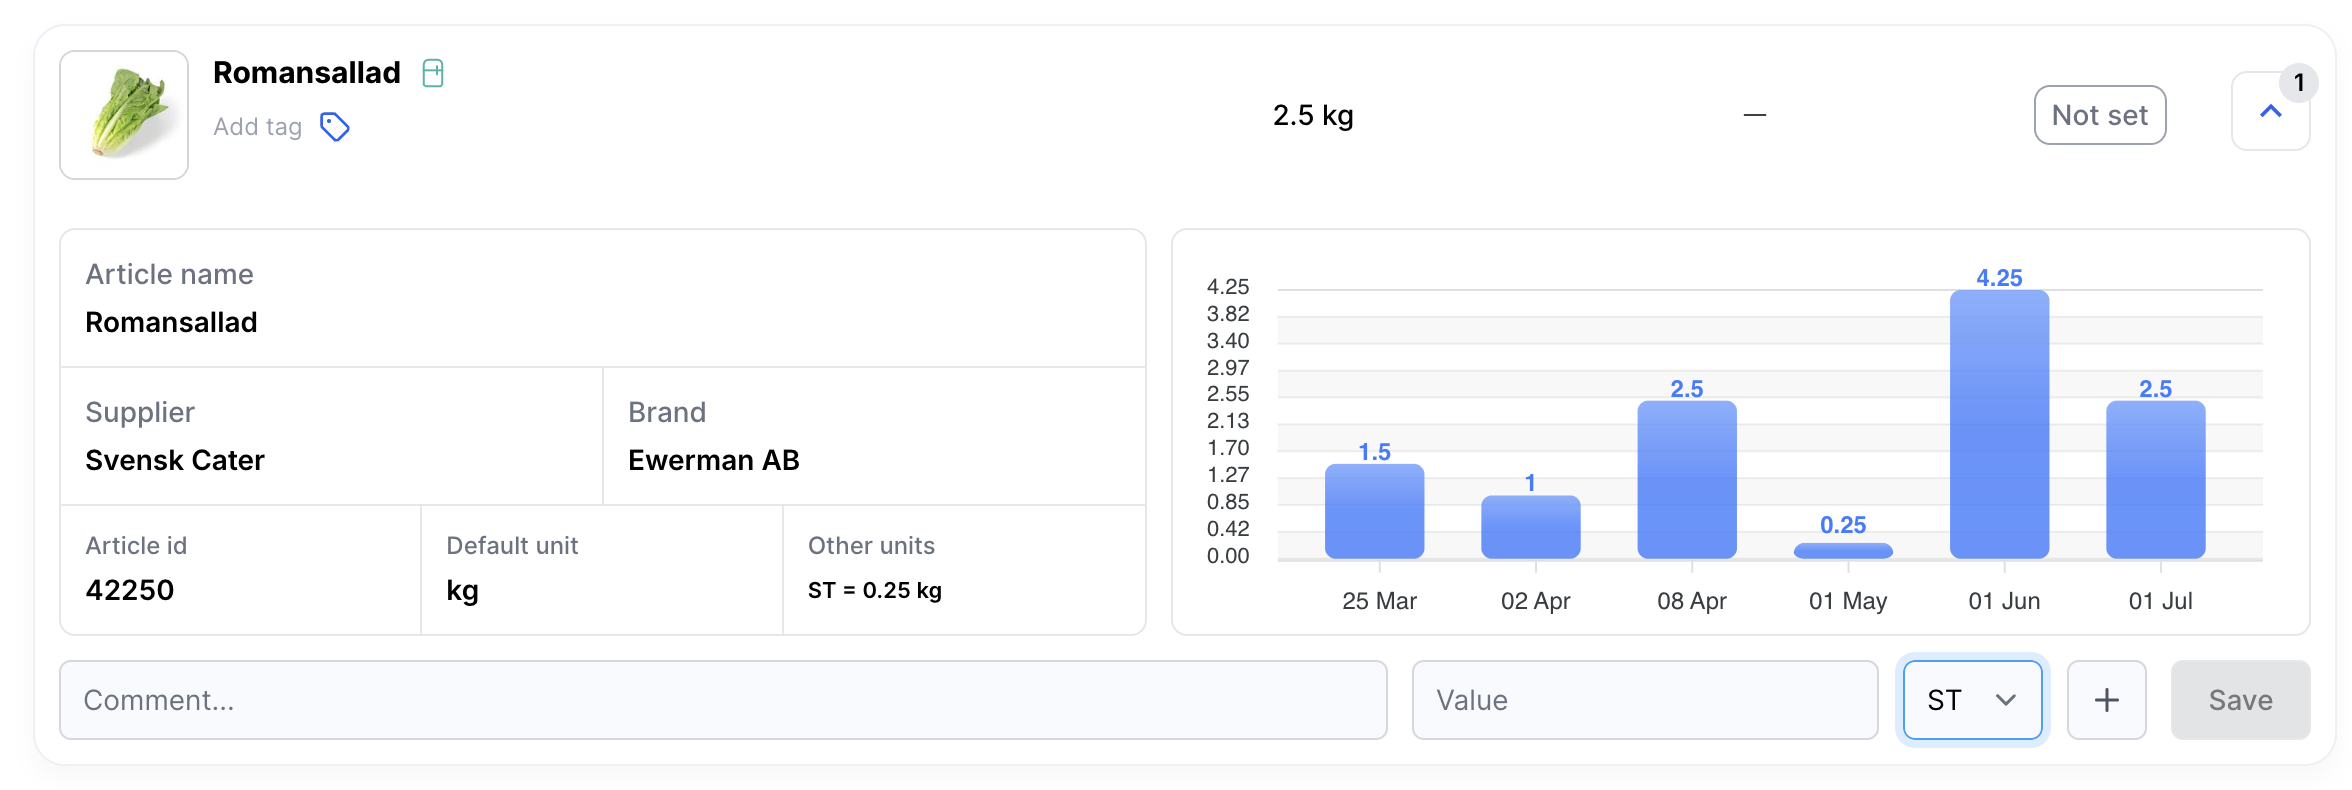
- Supplier article name
- Supplier
- Brand
- Supplier article id
- default unit (the unit used in recipes)
- Other units: a supplier article will often have multiple available units to use when performing the stock take.
How to do an inventory stock take
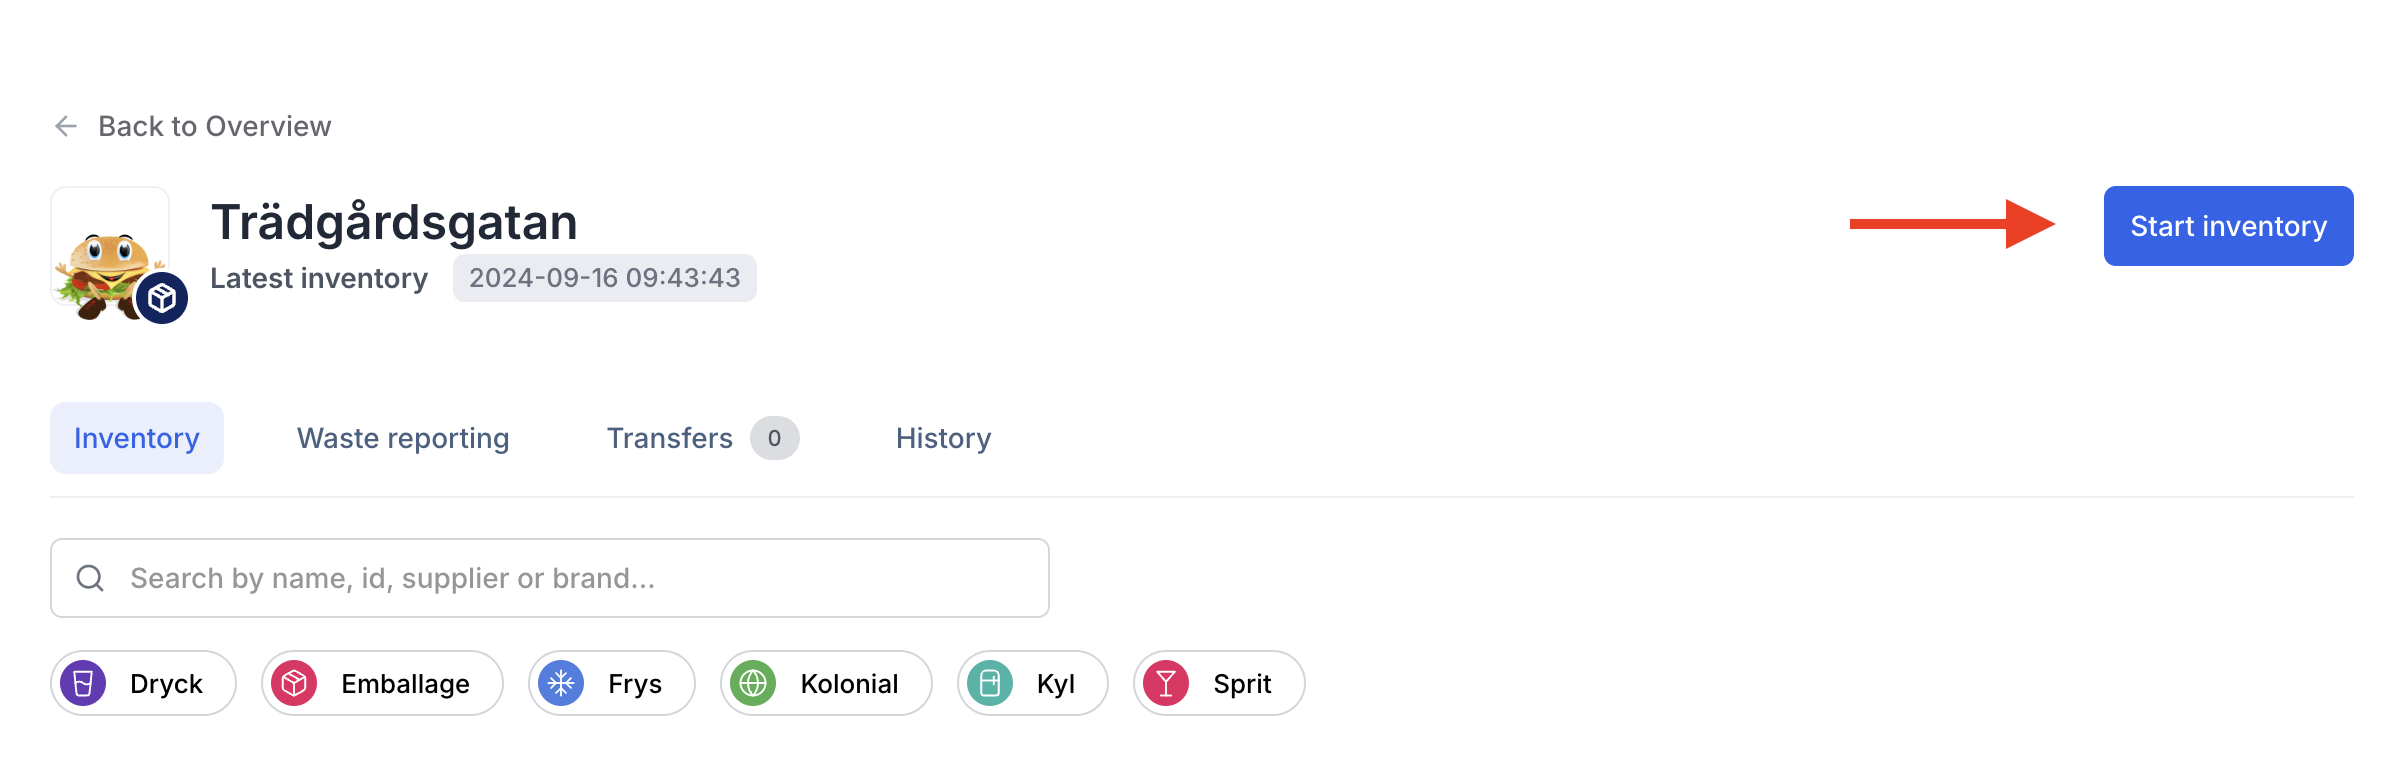
Start inventory
Start an inventory by clicking on the button “Start inventory” in the upper right corner. Select the type of inventory you want to perform, then on start.
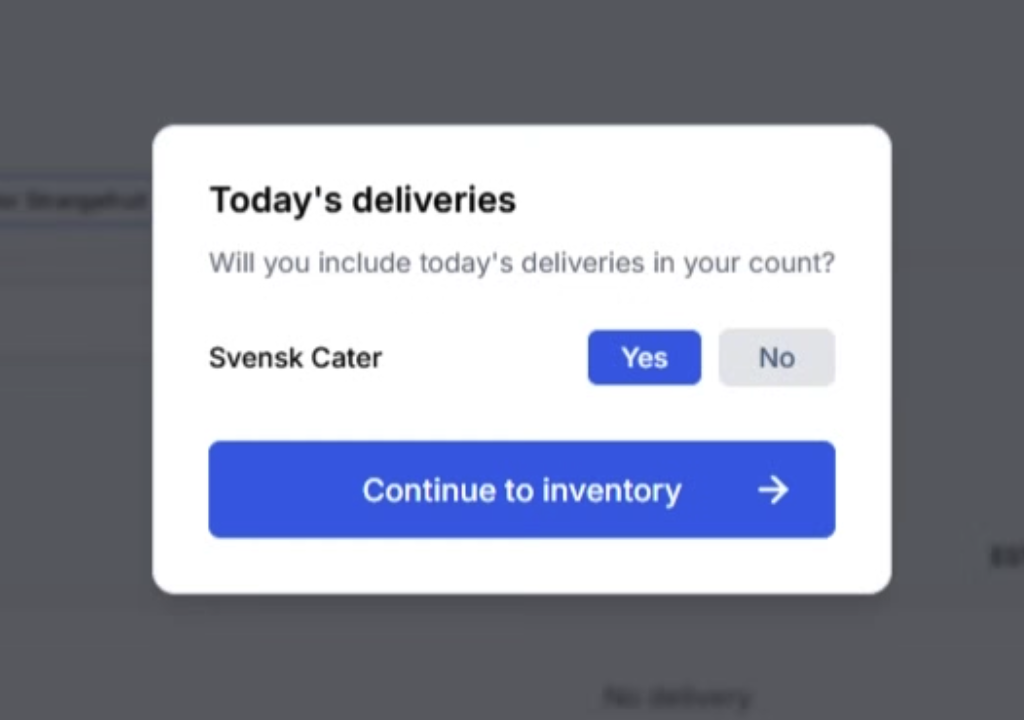
Before starting the inventory, you will get the question “have you received today’s delivery”. Select whether or not you have received your delivery (so we know if you are including the delivery in your inventory count.)
All the items in the selected list will now be displayed. At the top, you can check how many items that are on the list and how many you’ve counted.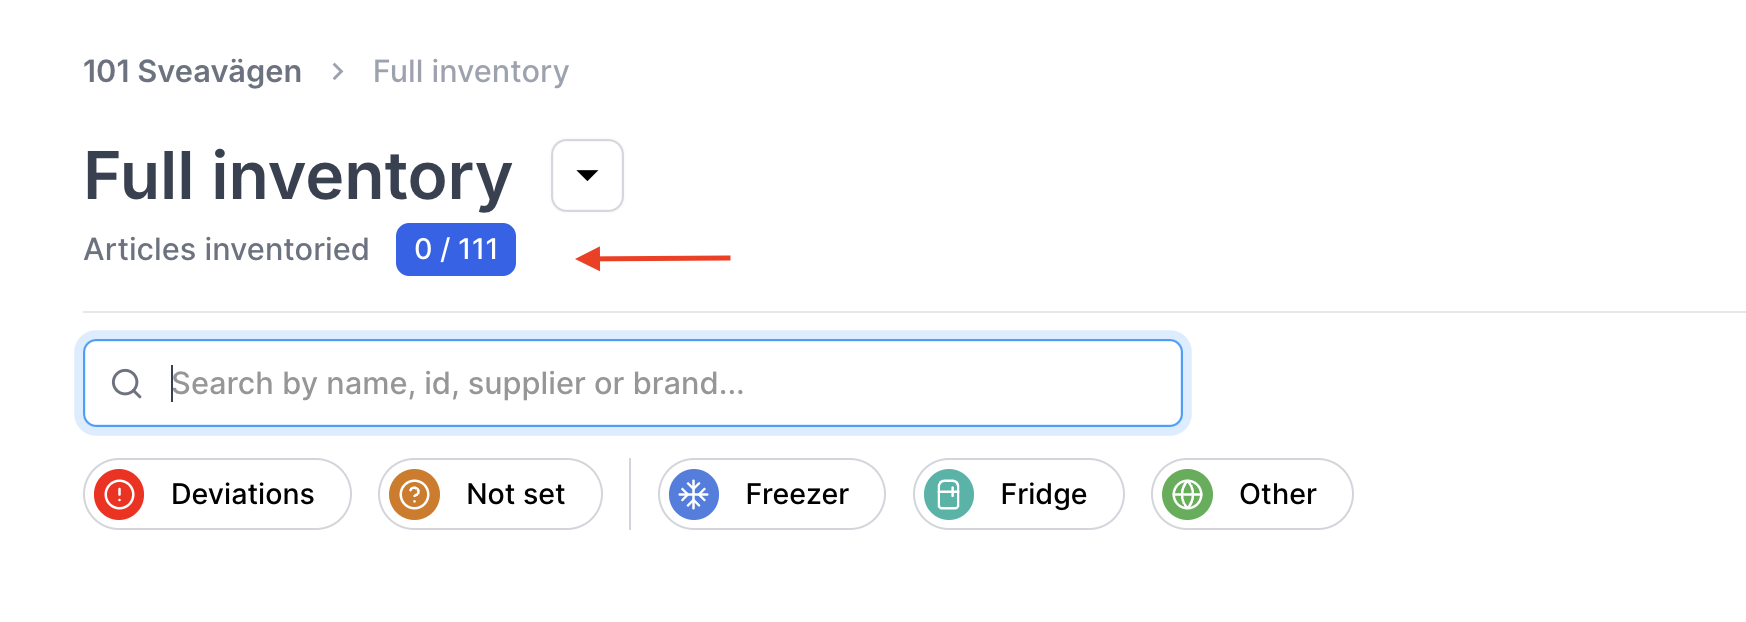
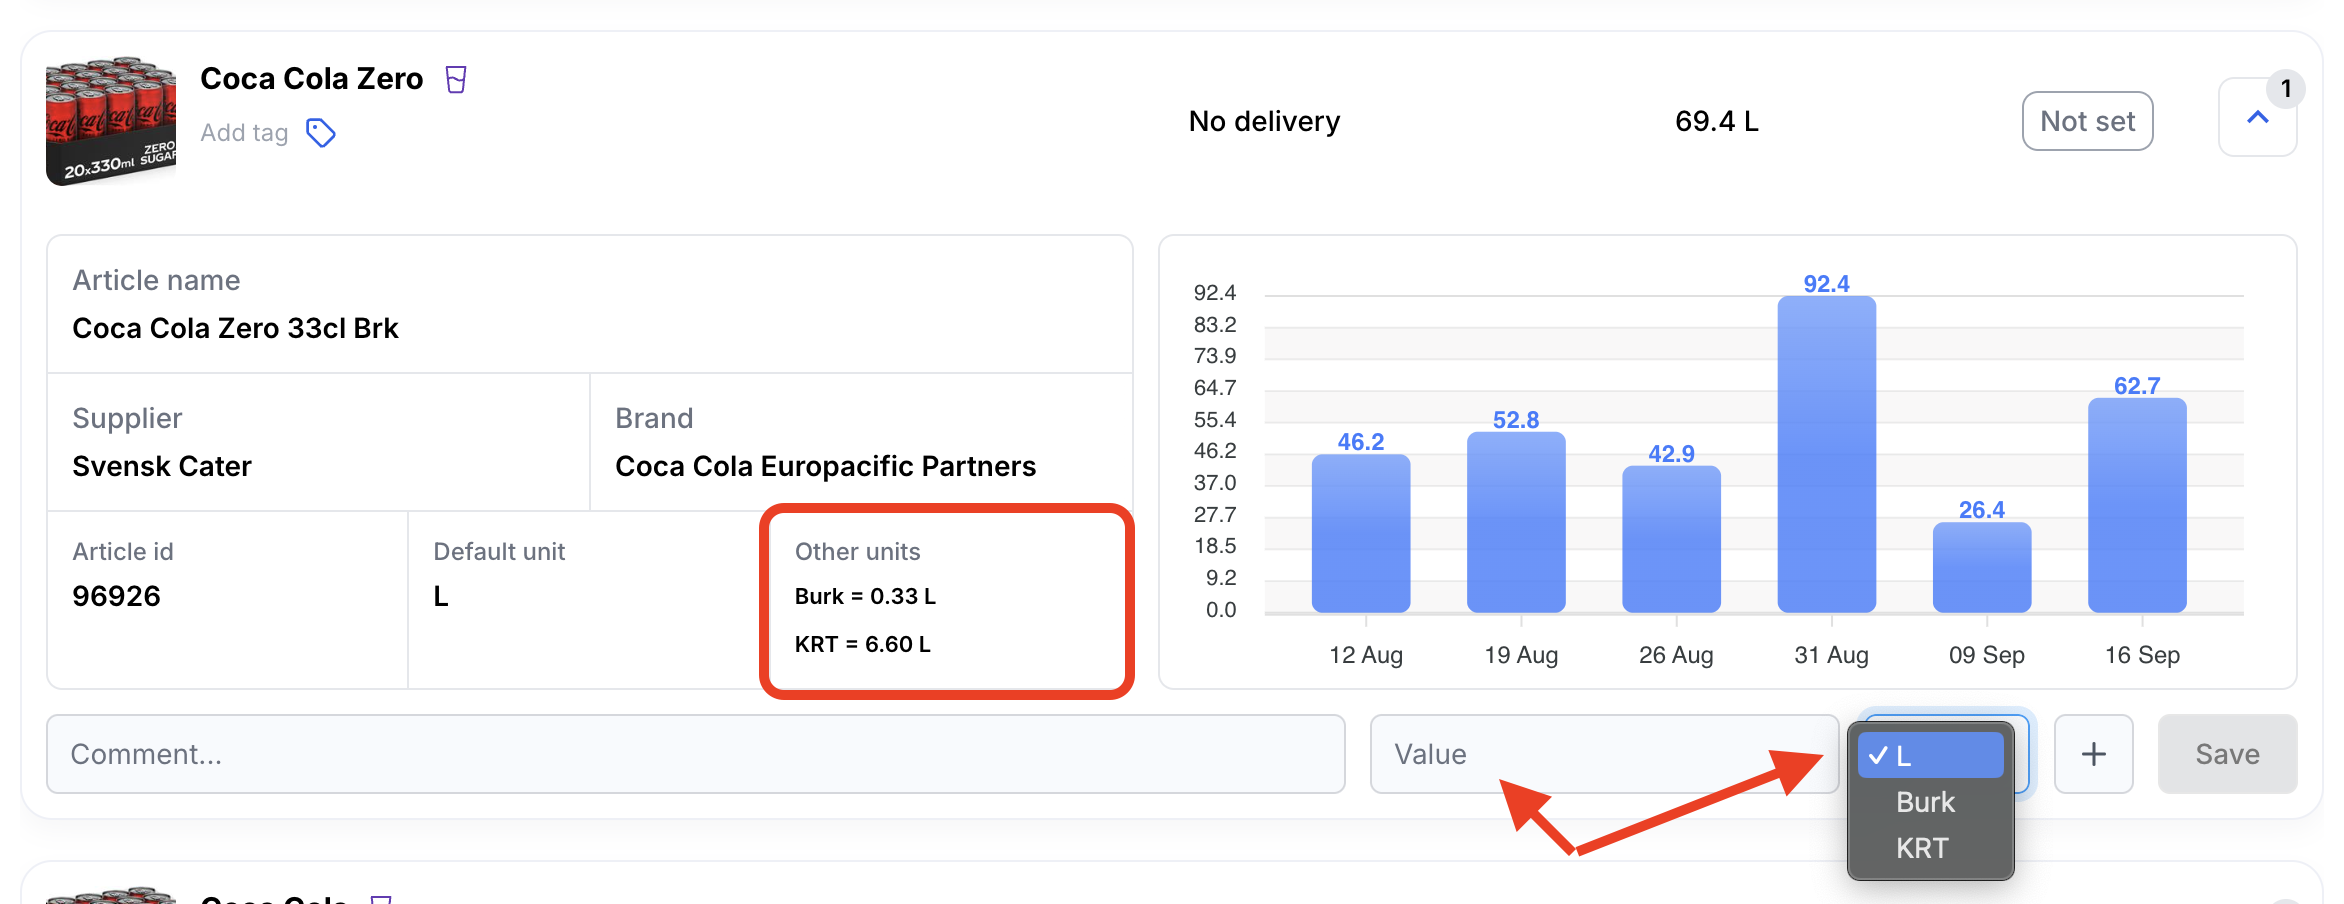
Enter values
To enter a value, click on an item, enter the value and select the proper unit. The information box provides details on unit conversions, article numbers, and more.
Deviating Items
If the saved value turns red, it indicates that the system has detected a potentially inaccurate value. This could be an unusually high or low value compared to previous inventories, purchases, or consumption. These divergent values are grouped under the tag “deviating items”.Before finalizing the inventory, carefully review these deviating values. They are intended to guide you in minimizing the need for a regional manager to make corrections after the inventory has been closed.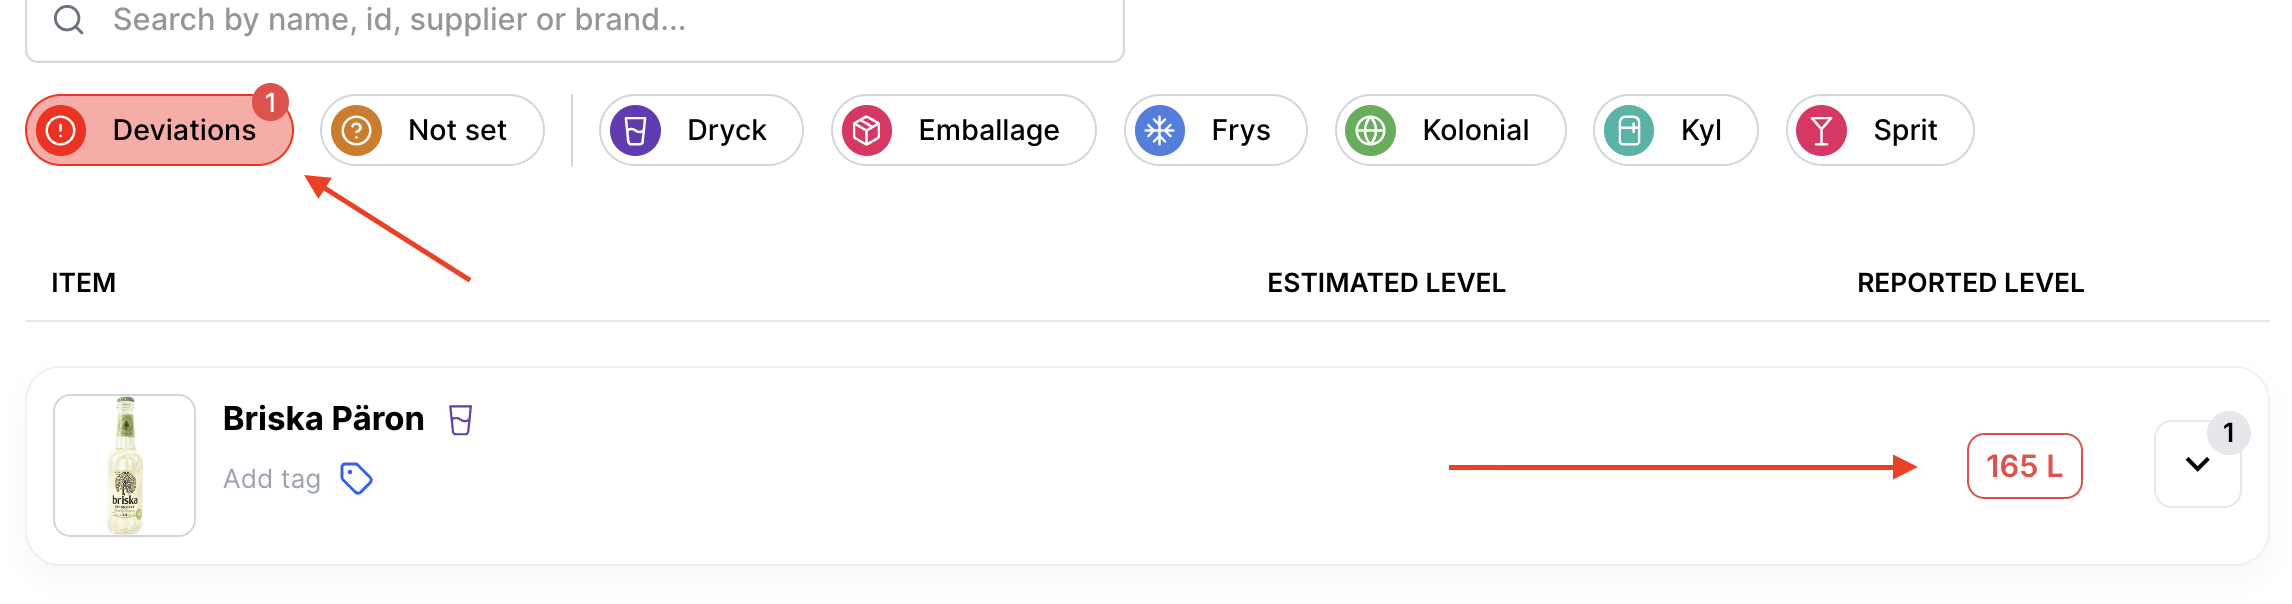
Closing the inventory
All items in the inventory list have an inventoried value before the inventory can be closed. That means, even if the list contains items you don’t have in stock, you need to enter the value of 0.
Once you have entered values for all items you are able to close the inventory. When you press the button, you will be reminded to review the deviating values before closing the inventory, to make sure that you have entered the correct values and units.
- Done 🎉
Once you have entered values for all items you are able to close the inventory. When you press the button, you will be reminded to review the deviating values before closing the inventory, to make sure that you have entered the correct values and units.
- Done 🎉
History
Download report and make corrections
Access the history to review and download your previous inventories. Admin users, such as your regional manager, can also make corrections to previous inventories. Press the three dots to the right of the desired inventory, then edit, to enter the correction mode.